

Here is the process for installing a Seat Concepts (or any other) cover on a typical motorcycle seat. While this is shown on my DR350 the same procedure works for most any bike.
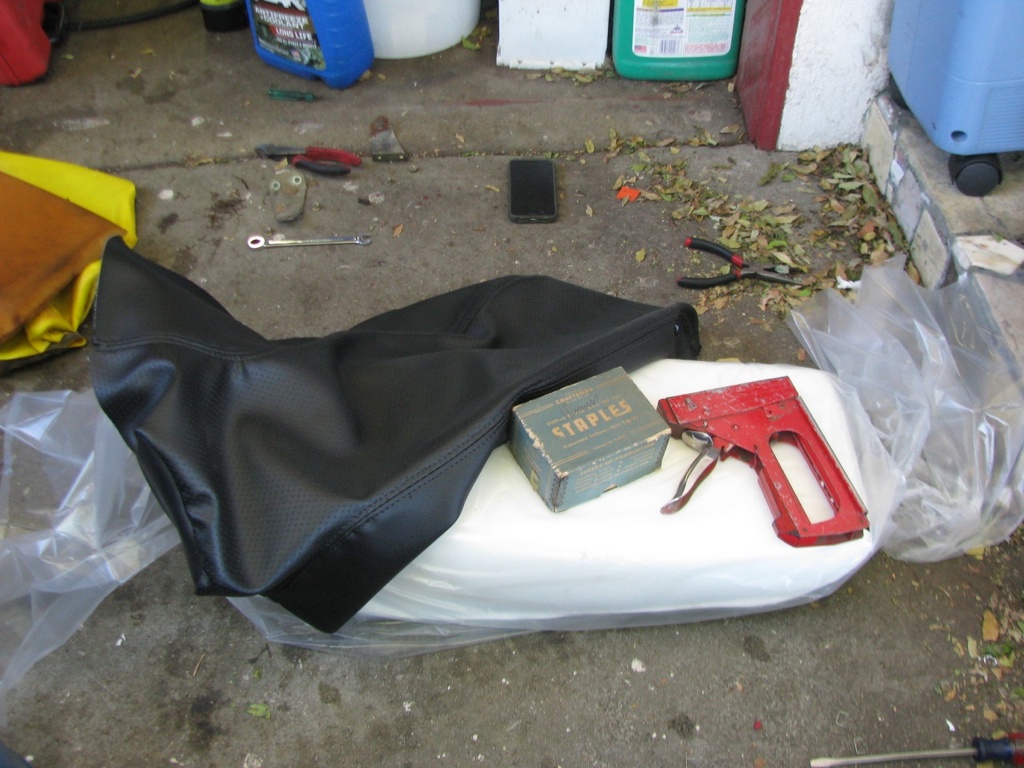
Recovering a seat is a pretty simple job and requires basic tools. Aside from whatever you need to remove your seat from your bike you’ll need a standard screwdriver, a pair of needlenose pliers, a stapler (preferably a power/pneumatic one), a utility knife, and some glue (I used 3M headliner adhesive).
The first thing to do is remove the new cover from the packaging and lay it out in the sun on a nice, warm day. I do this for at least an hour, this will make the fabric nice and pliable. Living in Southern California this is easy, if you’re elsewhere another option is to stick it on in the windshield of a parked car to let the greenhouse effect work in your favor.
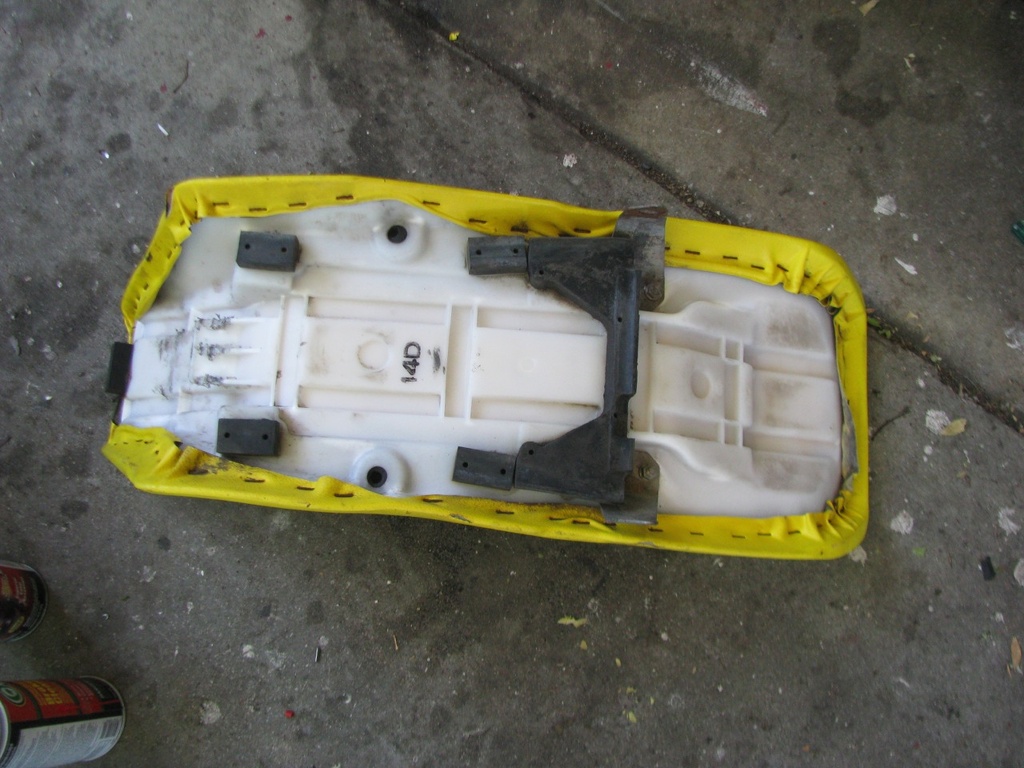
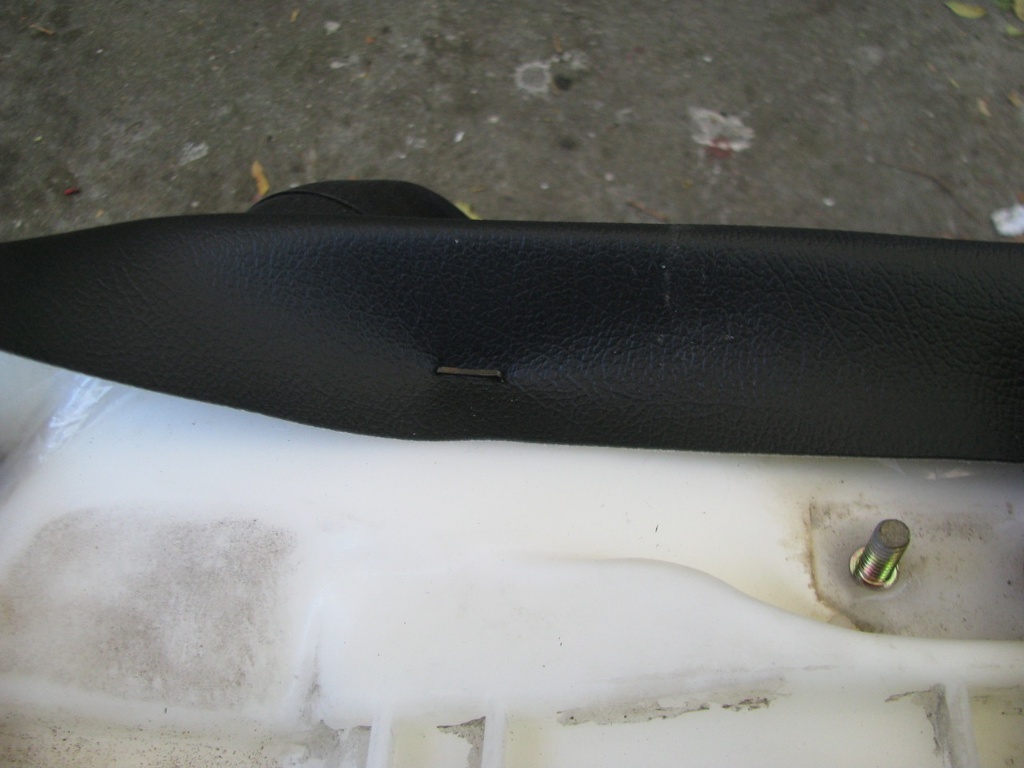
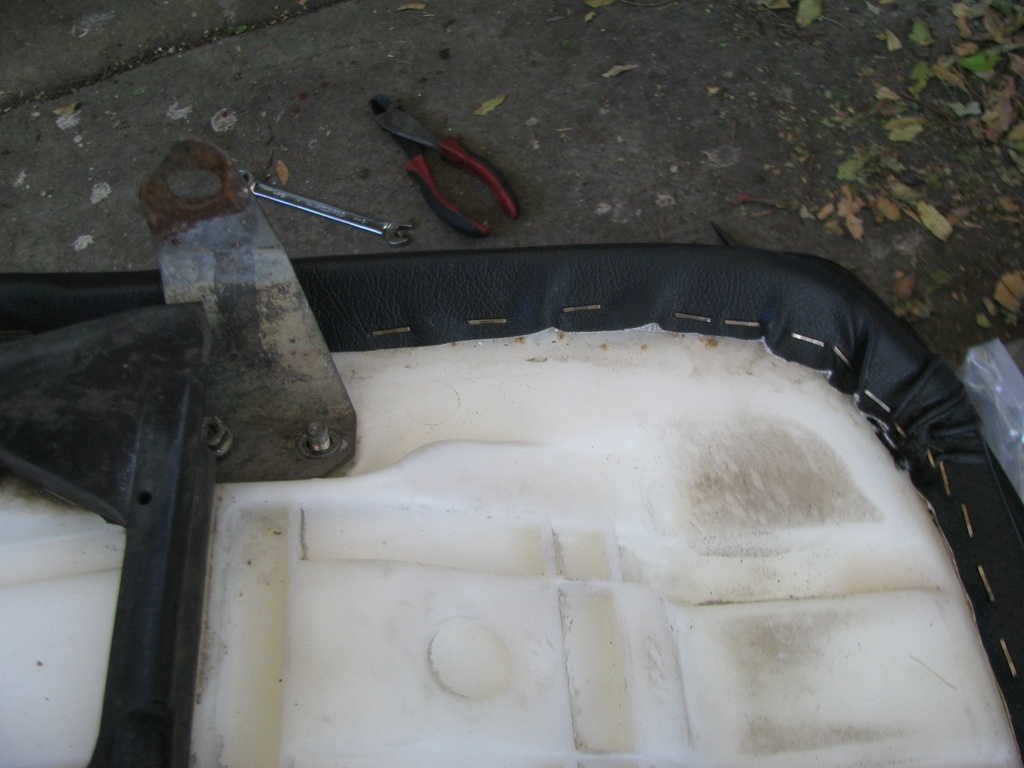
Start by removing your seat and taking off any brackets that are on it (in this photo you can see the metal brackets on this seat, this was just before I removed them).
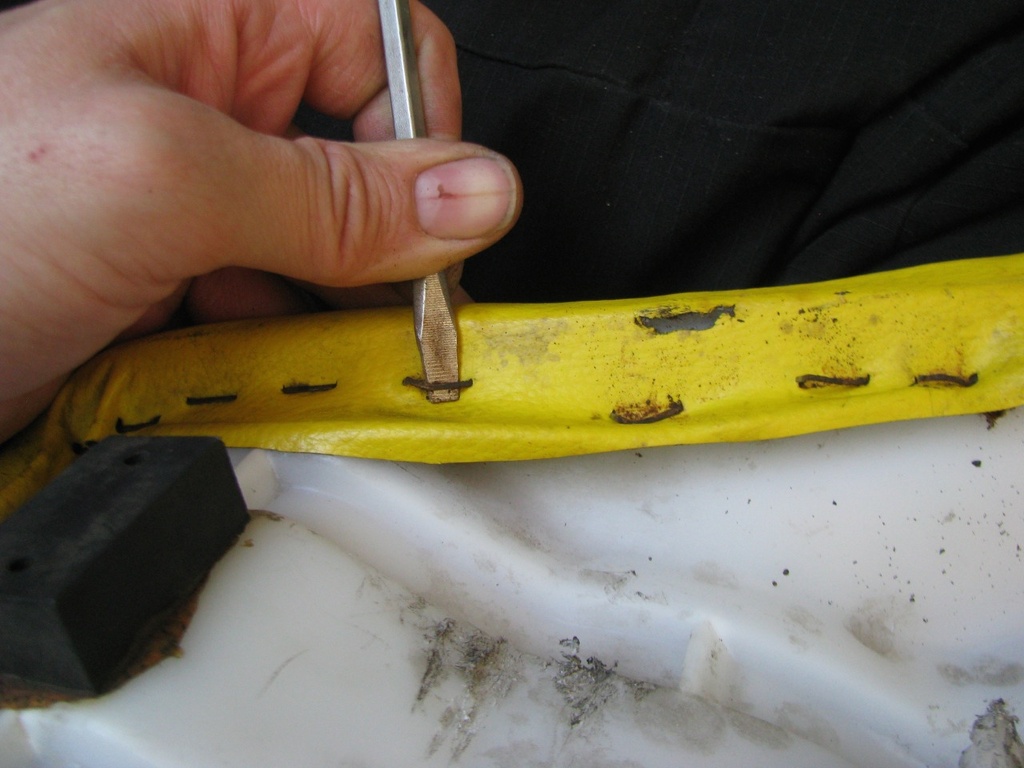
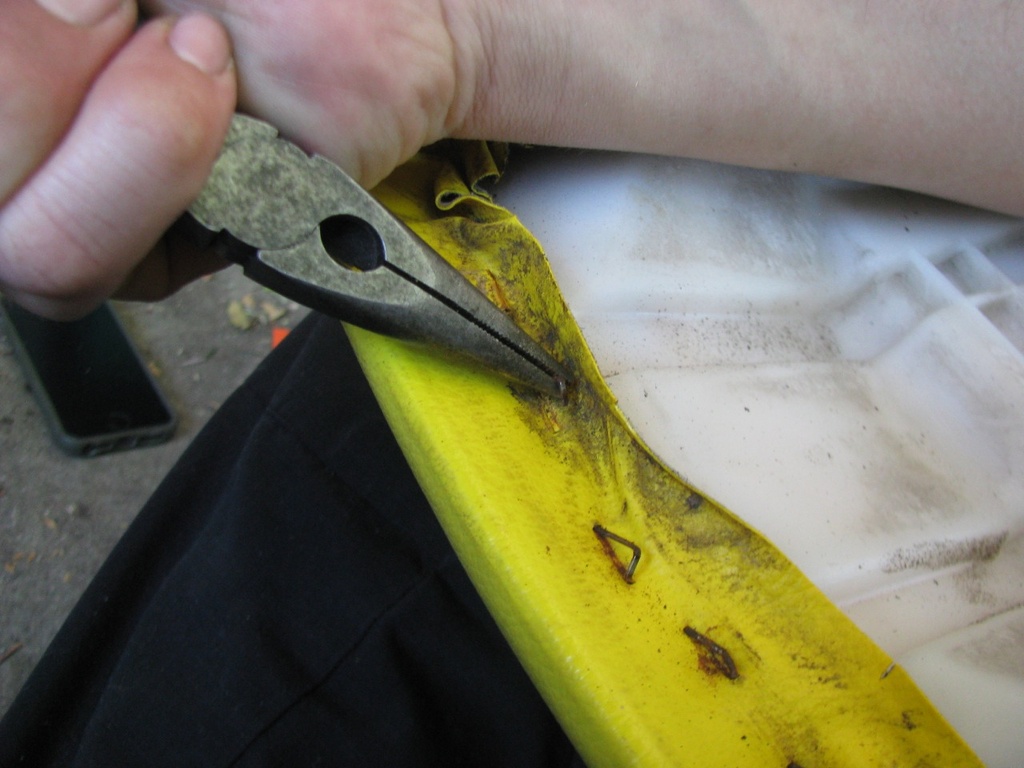
Next take a screwdriver and pry the staples up. You aren’t completely removing them, just giving yourself some room for the next step.
Now come back to each staple with your needlenose pliers and make them gone.
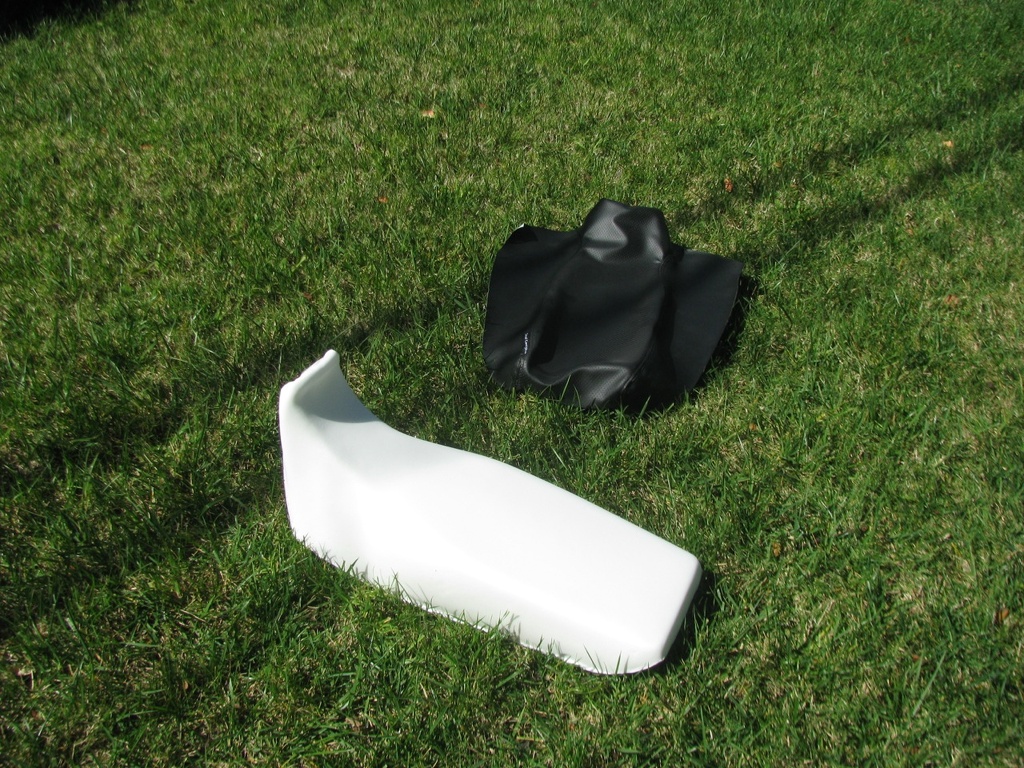
Once you have all of the staples removed you can take your original cover and foam off. Your foam may be glued to the seat so you might have to fight it some. It’s okay to curse at your seat.

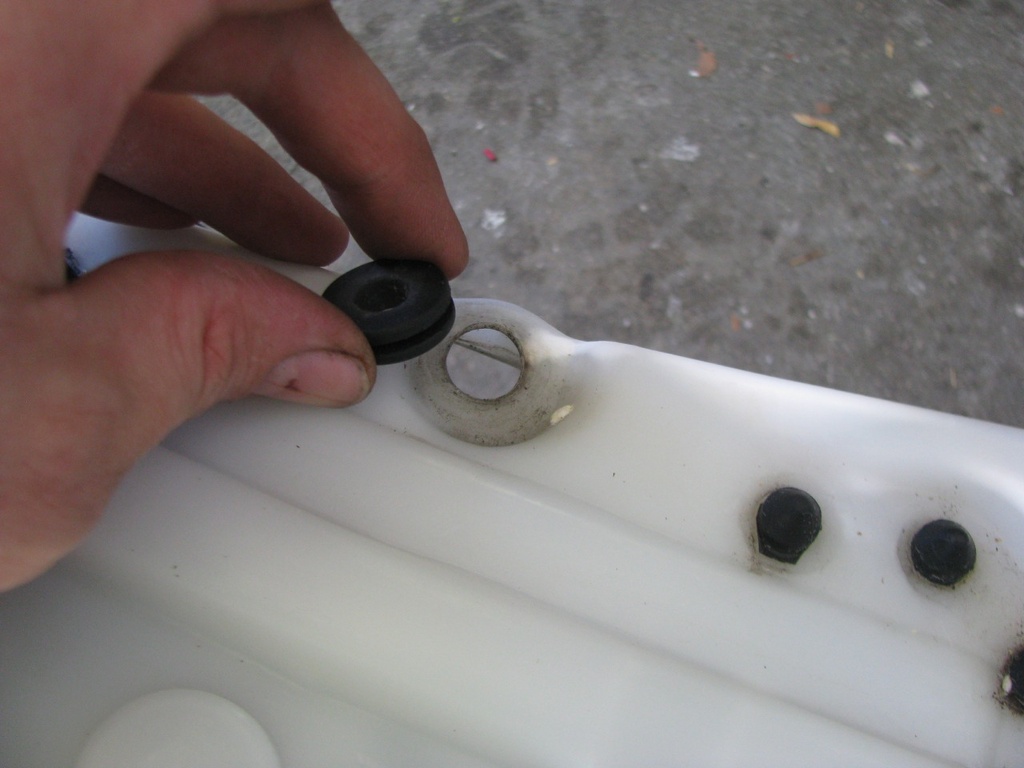
Take a look over the pan and make sure everything is in place. In the case of this DR350 the side panels snap into rubber grommets on the seat pan, at some point both of these grommets had slipped out of position so I had to re-seat them.
Now you need to clean as much junk off of your seat pan as you can and apply the glue. I liberally spray the adhesive to both the pan and foam, let it sit about thirty seconds, then put them together. Be careful, this stuff holds down pretty well.
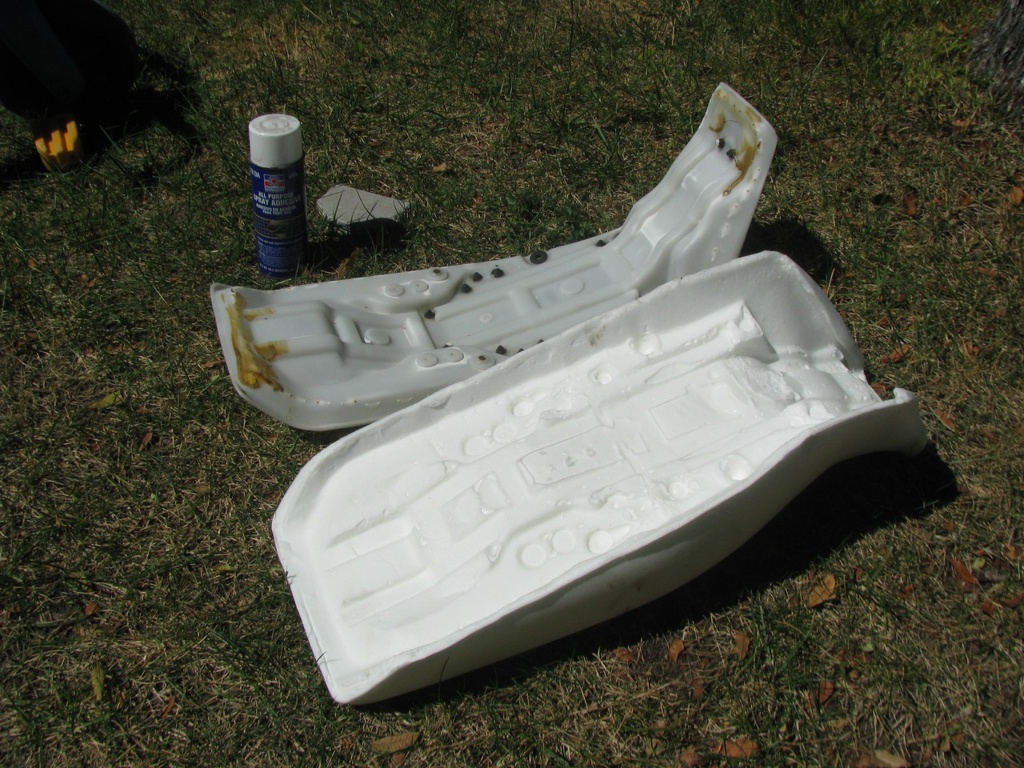
Now you have the foam and pan joined together and ready to go. I’m using an old manual stapler and staples. I also opted to use the provided plastic in between the foam and seat cover, this is optional.
Pull the cover over the seat and line it up square, paying particular attention to seams to make sure they’re in the same place on both sides of the seat. Now flip the cover over and put four or six temporary staples in. You want to staple these further out than the original staples since these are only temporary.
Once you’ve done that and confirmed all looks good start putting the permanent staples in. I work in small zones about 6″ long taking care to pull the fabric taunt and frequently flip the seat over to check for wrinkles. I move zones around the seat so I am evenly tightening to the cover. If you try to start at one end and staple to the other you will create wrinkles.
After you’ve gone around the whole seat remove your temporary staples and trim the excess fabric off.

Use lots of staples in the more complex corners. You will see bunching and folding on the underside but if you pull it right you won’t see it on the top or sides.
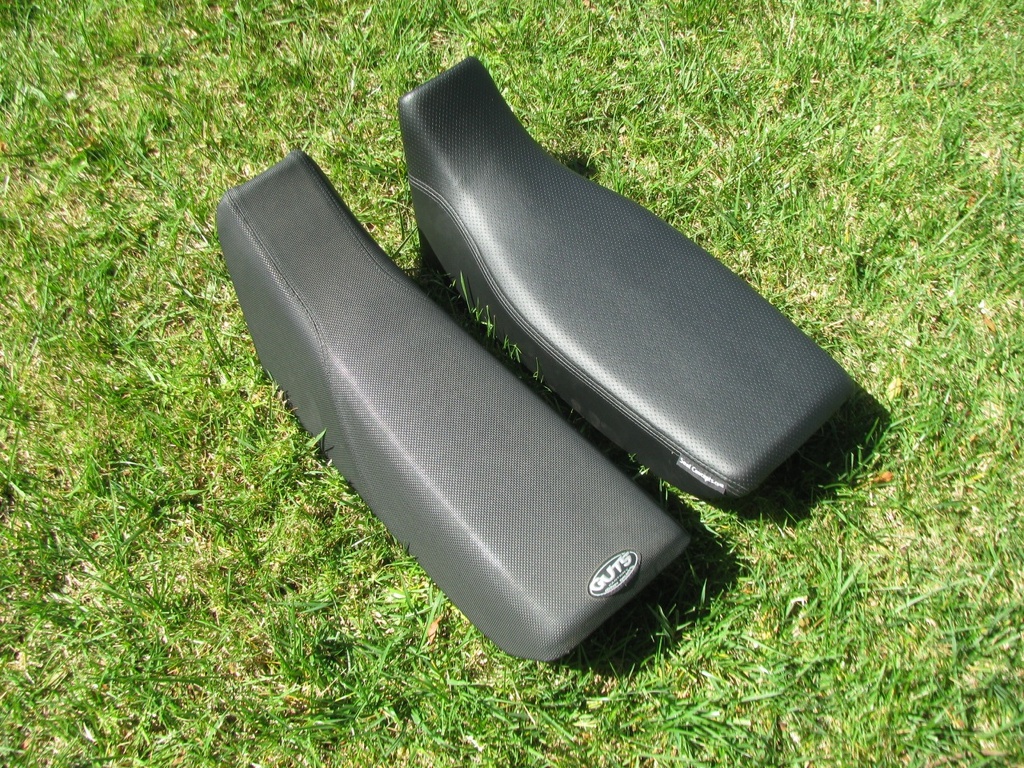
Now we have a brand new seat on the right.
One more note. Sometimes you will find small wrinkles show up in the seat cover. I would advise you not to stress out about these too much as they tend to smooth out after a few days. If they don’t smooth out you can always selectively remove staples and re-tighten the cover.
Enjoy your new seat.